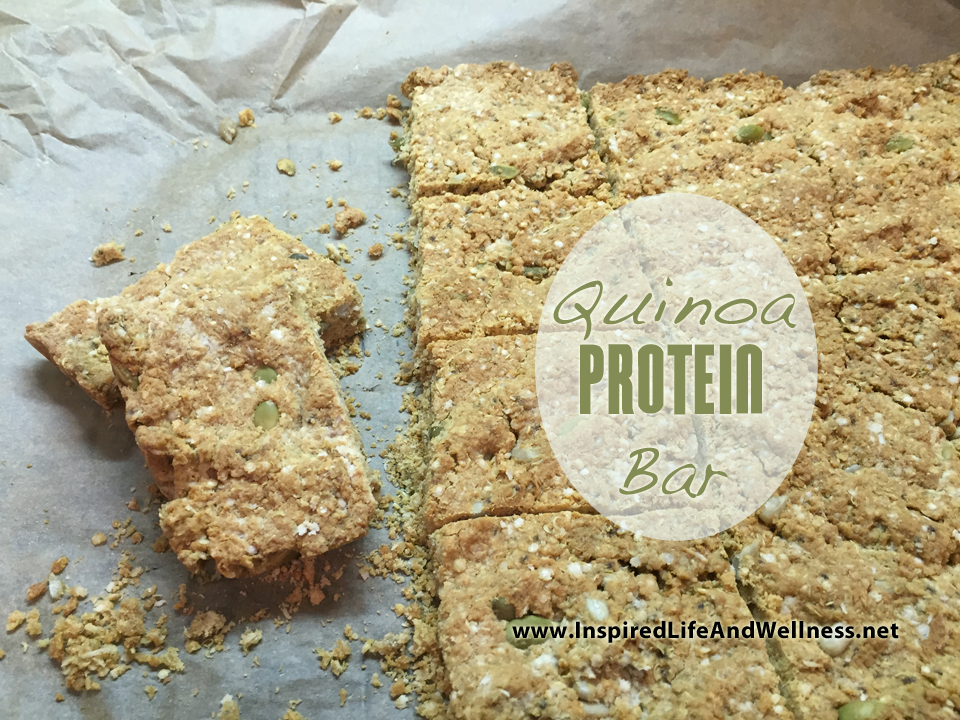
 Something baked. I was craving it. But it had to be healthy, allergy-friendly and low FODMAP. Is that even possible?! First of all, FODMAPs are different kinds of carbohydrates found in certain foods and are often not digested or absorbed well. Bacteria in the gut can then ferment these foods causing issues like Irritable Bowel Syndrome. Temporarily removing those FODMAP foods from the diet can help the gut feel healthy again.
You see, I have multiple food intolerances. I had been gluten, dairy and soy free for several years and (through further testing) discovered quite a few more foods that my body was reacting to . Healthy foods that I was consuming everyday (like almonds, oats, tree nuts, corn, white potatoes, and others)! So, I’d been on a restrictive eating plan for several weeks to calm my gut and my body and figure out which foods work best for me.
I hadn’t had anything baked in what seemed like forever! So, I turned to my friend Google for the search. This turned up a website from the other side of the pond called A Little Bit Yummy. How appropriate! The author, Alana Scott, is a food author who creates low FODMAP recipes. I found her recipe for the ANZAC Day Slice. Gluten free. Dairy free. Soy free. Oat free. Nut free. Egg free. It was truly FREE!
It was fun to read her recipe and notice differences such as the amounts listed in metrics. Thankfully, she also gave U.S. standard conversions (most helpful for me). The recipe also called for “golden syrup” which upon further research, I discovered is a British, thick, sugar cane syrup with a distinctive flavor. I even found a video on YouTube that demonstrates how to make golden syrup. Alas, I chose to just use natural, maple syrup. Saving time was the name of the game for me.
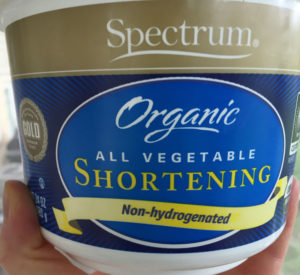
 The recipe also called for dairy free spread such as an olive oil spread or butter. Of course, I opted the dairy-free route but the dairy free spread I usually use (Earth Balance Soy Free) contains natural flavors that are derived from corn. Yep, had to avoid that too. So, I chose to use Spectrum Organic All Vegetable Shortening. It’s non-hydrogenated (0 trans fats) and made from palm oil.
What are the chia seeds for, you may wonder? Remember, this recipe is egg free. The chia seeds, soaked in boiling water, become soft and very gel-like. Almost like the white of an egg! They help to bind everything together. The fact that they are full of protein, too, is a plus!
 I like to use the Namaste brand of gluten free all-purpose flour. Many GF flours contain potato starch. This one doesn’t and that’s great for me! It’s a wonderful blend that has performed well for me in all kinds of GF baking. The quinoa flakes are a great protein-packed alternative to oats. Add in the pumpkin and sunflower seeds and this bar makes a great (fairly) low sugar, baked treat to have with my morning coffee. These would make a healthy granola bar substitute for your kids too!
Of course, as I said, this is a treat and moderation is always key with those. Don’t eat the whole pan! But, I will tell you… in my baked-good-craving state, when I took my first bite the clouds parted! Make up a pan of these gems, cut hem into squares and pop them in the freezer if they last that long. Grab and go!

Ingredients
- 1 1/2 cups gluten free all purpose flour (I like Namaste)
- 1 1/2 cups quinoa flakes
- 3/4 cup dried shredded coconut
- 1/4 cup pumpkin seeds
- 1/4 cup raw, hulled sunflower seeds
- 3/4 cup Spectrum palm oil shortening (or olive oil spread or butter)
- 3/4 cup brown sugar
- 2 1/2 T pure maple syrup
- 1 1/2 tsp baking soda (+ 2T boiling water)
- 3 tsp chia seeds
- 3 T boiling water
Instructions
- Preheat your oven to 350 F. Grease an 8 1/2 x 11" baking pan (I use coconut oil spray) and line it with kitchen parchment paper.
- Put the gluten free flour, quinoa flakes, dried shredded coconut, pumpkin seeds, and sunflower seeds in a large bowl and mix well.
- Put the palm oil shortening (or olive spread or butter), brown sugar and maple syrup into a large saucepan over medium low heat. Stir occasionally until smooth. Remove from heat.
- Dissolve the baking soda in boiling water, then stir into the syrup mixture. It should become golden and frothy.
- In a small dish, mix the chia seeds and boiling water until the chia seeds soften and become gel-like.
- Add the chia seeds and syrup mixture to the dry ingredients. Mix well.
- Transfer the mixture to the prepared pan. Using the back of a spoon, or your hands, press the mixture evenly into the pan.
- Bake for 20-25 minutes or until golden brown. Allow to cool and then cut into squares.
- Stores in an airtight container for up to 5 days, but I put mine in a zip-top bag and put them in the freezer.

 Julie Smith is a certified Life Coach, Leadership Coach and Health Coach. She empowers others to create calm and clarity through work and life transitions. Together, they build confidence, create postive change, and greater well-being so they can lead themselves and the organizations and families they serve. Her clients include purpose-driven professionals, leaders and organizations.